# Trigger CC with a Schedule
A CloudCode Task can be run on a schedule, e.g. every Monday at 8am, or every hour.
This is especially useful for recurring scripts or reports that need to be generated.
{% hint style="info" %}
**Limit a task to a single instance**
Limit your CloudCode Task to a single instance (available under the task's settings) when running a CloudCode task on a schedule to avoid duplicate instances running at the same time, which may cause data inconsistencies.
{% endhint %}
### Schedule types
For tasks running on a schedule, two high-level schedule types are available:
1. Task-based schedules.
2. Deployment-based schedules.
#### Task-based schedules
Task-based schedules are where the task will run at the same interval/times no matter the deployment. This is the quickest way to configure a CloudCode schedule.
Once you have selected "Task-based" as your schedule mode, [set your schedule using the instructions below](#setting-a-schedule).
#### Deployment-based schedules
With deployment-based schedules developers can choose different intervals to run the task depending on the deployment. An example of where this is very useful is where you want to run a task more frequently in production deployments, and less frequently in testing deployments.
To set up a deployment-based schedule, follow these steps:
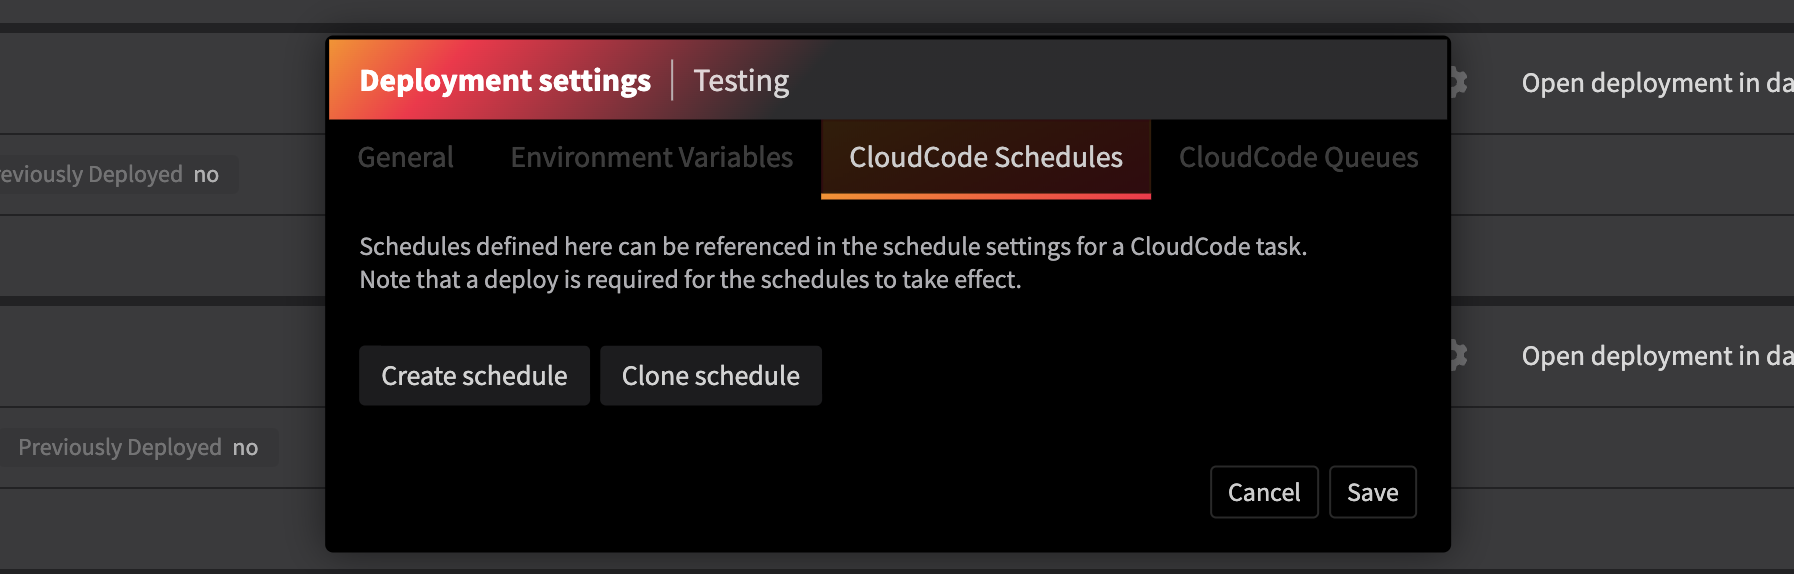
First, create a CloudCode schedule from any deployment's settings, under the "CloudCode Schedules" tab:
Then, set your schedule for this deployment. More instructions can be [found below](#setting-a-schedule).
Save the schedule.
Now you need to create schedules for the other deployments. The quickest way to do that is to use the "Clone schedule" button:
Open the deployment settings for the deployment you want to clone a schedule to. Then choose the schedule you want to clone. You can edit the schedule so that the task will run at the appropriate intervals for this deployment.
Repeat this for all deployments where you want the CloudCode task to run.
Once this is complete, open the CloudCode task's settings:
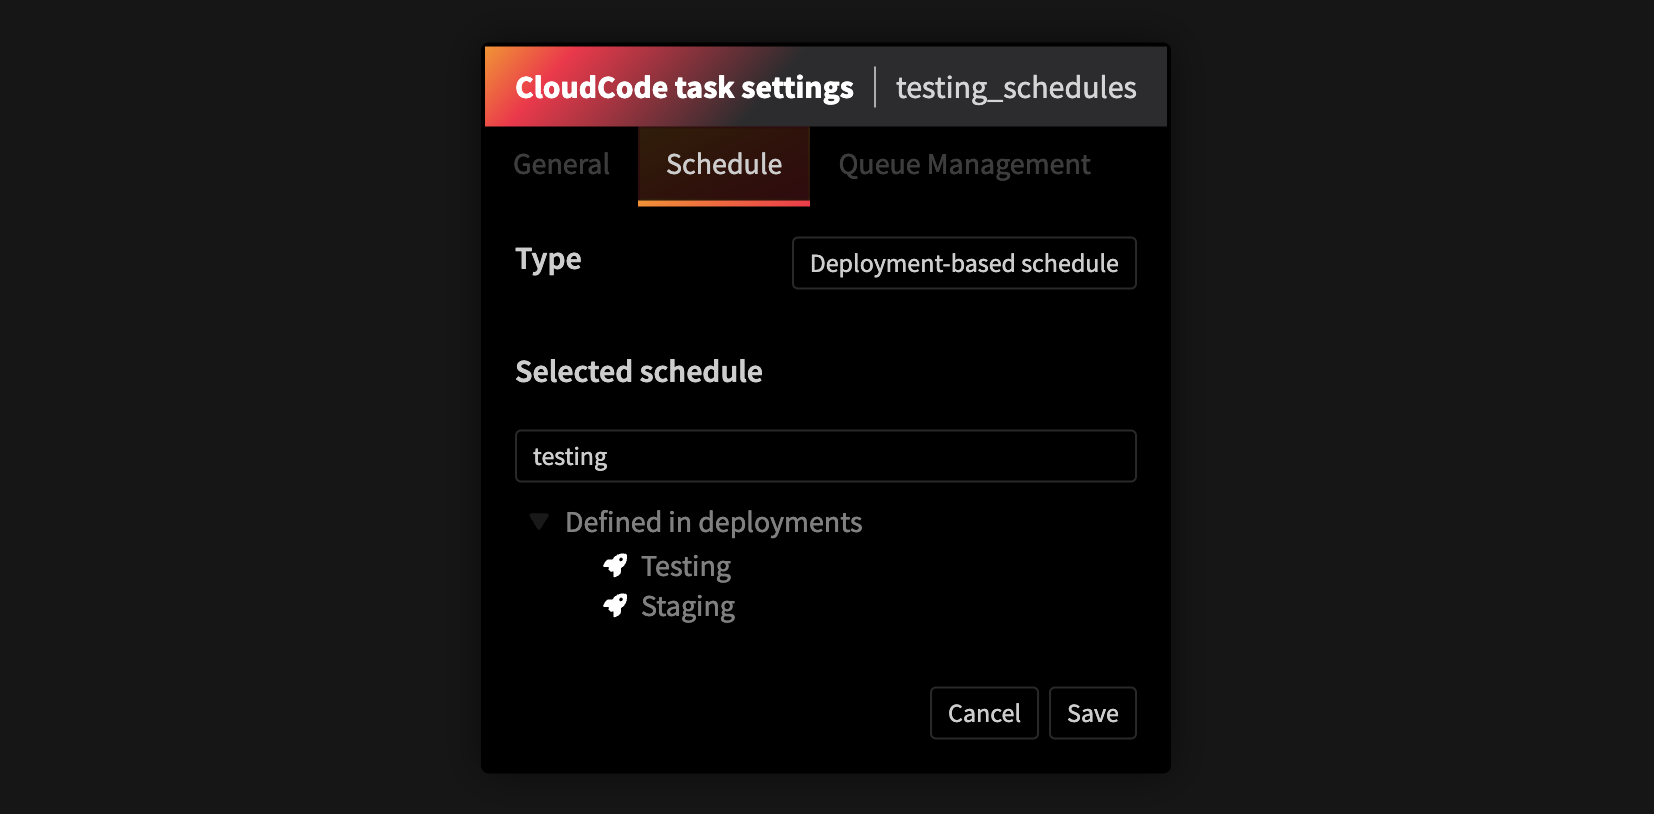
Under the "Schedule" tab, select the "Deployment-based schedule" type and pick the CloudCode schedule you just created.
You should now be able to see in which deployments the schedule is defined:
Clicking on one of the listed deployments allows you to edit the schedule for that deployment.
{% hint style="success" %}
**Reuse deployment-based schedules**
Sometimes it might be convenient to reuse the same deployment-based schedule for multiple tasks. This allows you to create a single set of schedules that can be updated in one place, instead of having multiple schedules across different tasks.
{% endhint %}
### Setting a schedule
Once you have chosen OXIDE gives you two modes to specify your schedule:
1. Using the simplified UI (called Simple mode)
2. Using a valid [Cron](https://en.wikipedia.org/wiki/Cron) expression (called Advanced mode)
Here's what it looks like in OXIDE:
Scheduling using simple mode
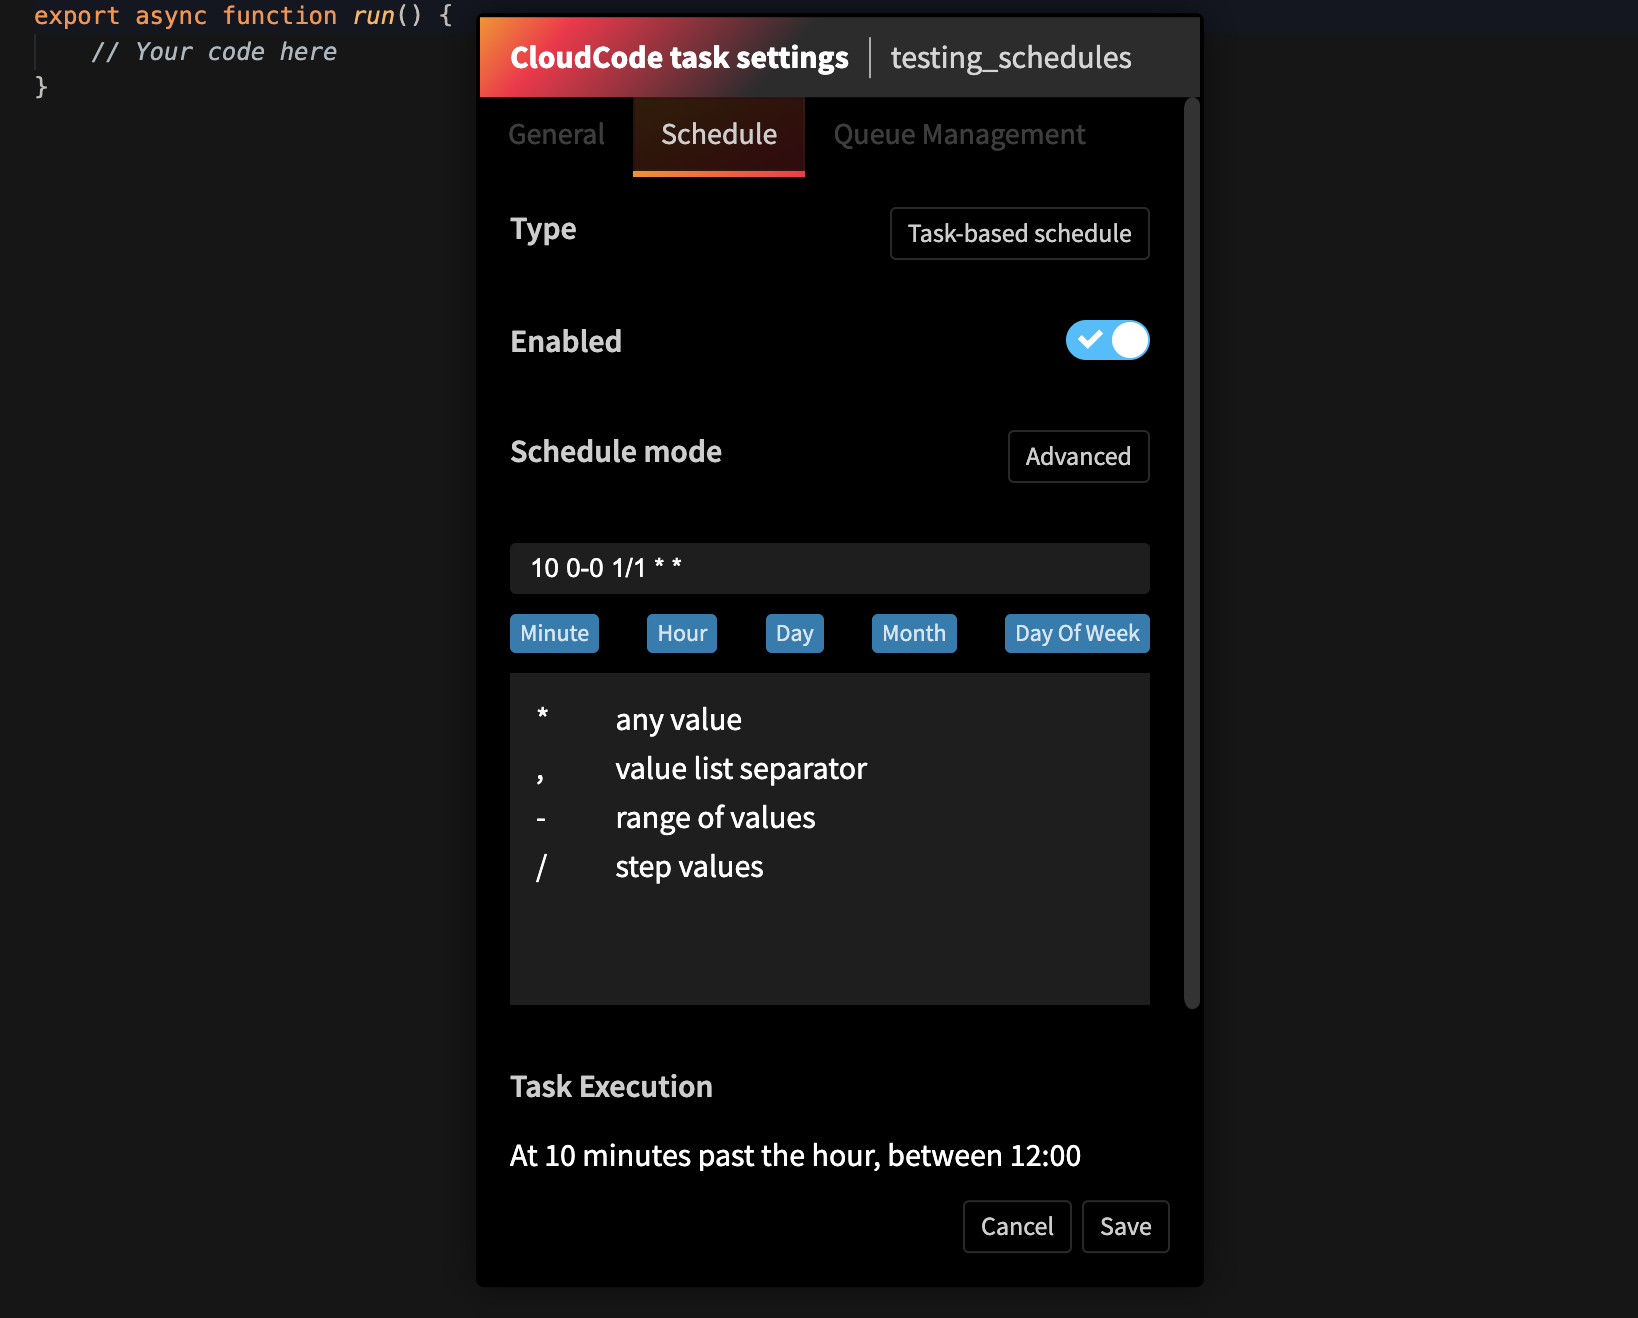
Scheduling with advanced mode
To set a schedule:
1. Right-click on the relevant CloudCode task in OXIDE, and open the task's settings.
2. Under the schedule tab, enable the schedule and configure it.
3. Save the schedule